- Thread starter
- #21
Branching Out
Garden Addicted
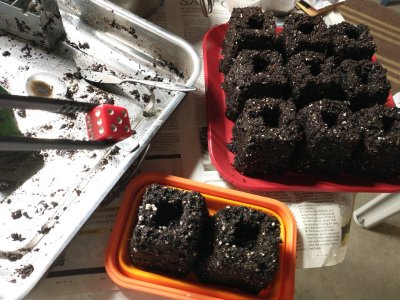
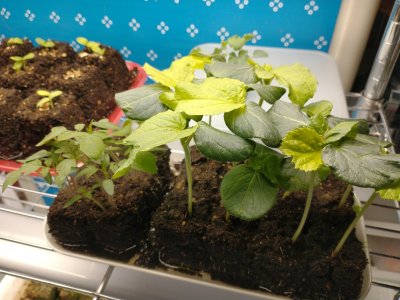
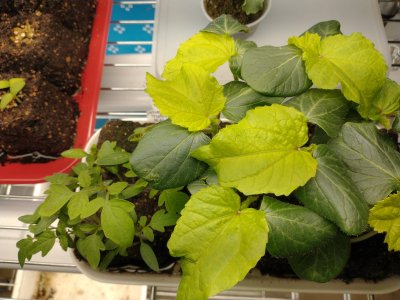
They are very efficient for starting seeds. I just love my soil blockers.I made close to fifty 1020 trays of soil blocks this year so I use a lot of promix.
Follow along with the video below to see how to install our site as a web app on your home screen.
Note: This feature may not be available in some browsers.
They are very efficient for starting seeds. I just love my soil blockers.I made close to fifty 1020 trays of soil blocks this year so I use a lot of promix.
I was skeptical initially as well, but I am so glad that I made the leap.OK, I've just gotten a grand education on soil blocking, which I had previously looked at with skepticism. Thank you muchly for that! (scribbles 'soil blocker' on Christmas wish list)
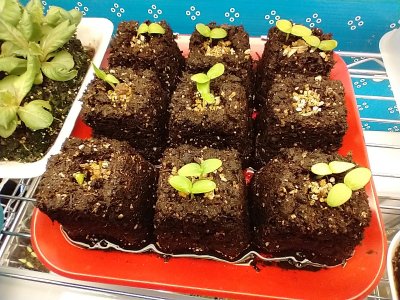
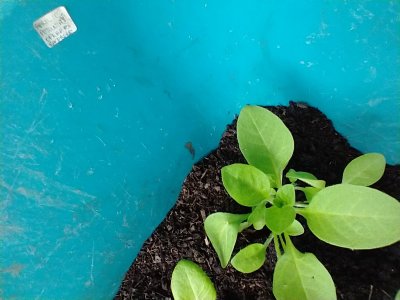
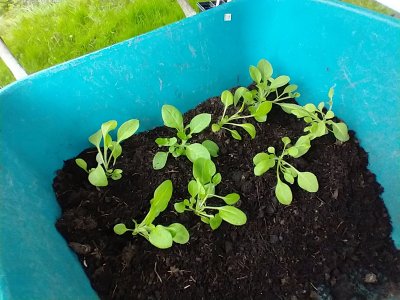
Rhodie Ranch, what size soil blocker did you buy-- and what kind of seeds did you start with it?Due to you, I bought a SS soil blocker. It worked great once I read the instructions. I didn't use it for everything, but I saw its value as the blocks stayed together for over two months!!