- Thread starter
- #51
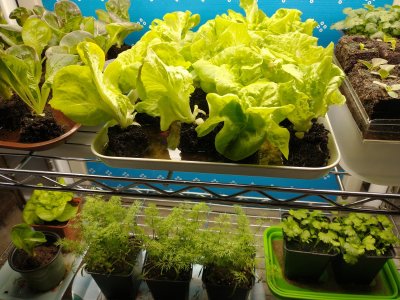
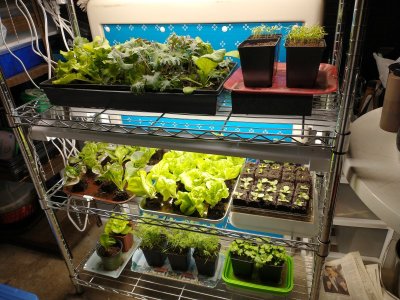
Branching Out
Garden Addicted
Well this is exciting! Try to screen your seed starting mix if possible, to remove any large bits of bark or pebbles. Then mix in some dry fertilizer if you have some; I use a dry organic fertilizer called Gaia Green 4-4-4. Probably the most important step is to hydrate the mix for several hours or over night before you make the blocks, which will result in easier handling. It takes a bit of trial and error, but you will catch on quickly.@Branching Out
Got a soil blocker for Christmas, not the Ladbrook but hoping it will work well. 1.85"x2" blocks. DH wants me to take it for a trial run, he's not understanding how it works.
Cross your fingers I don't make a fool of myself trying to get the right compaction. Only soil currently on hand is Lambert Seed Starter. Plan to use Pro Mix for the real event. Any hints or suggestions?
I am also having better success when I pre-sprout my seeds on a moist paper towel for a few days before sowing them in the blocks. What kind of seed are you thinking of starting with?


")