ducks4you
Garden Master
- Joined
- Sep 4, 2009
- Messages
- 13,520
- Reaction score
- 21,235
- Points
- 437
How Creative!!
Follow along with the video below to see how to install our site as a web app on your home screen.
Note: This feature may not be available in some browsers.
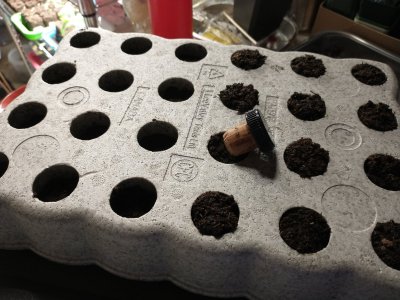
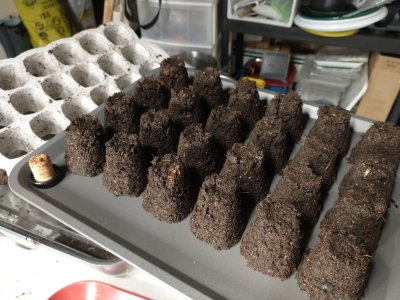
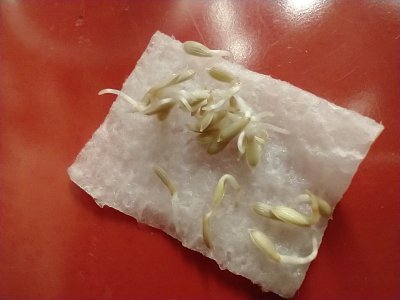
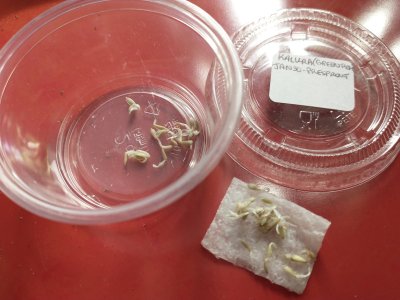
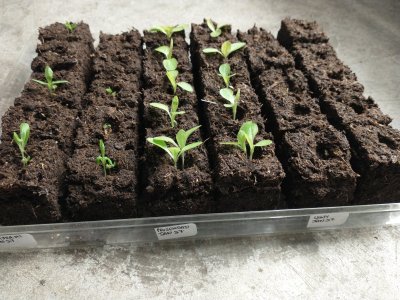
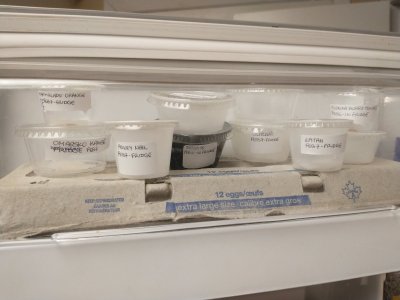
Just wanted a follow up on the phlox. Did you put the blocks on heat mat, covered or uncovered? Do you see anything happening yet. After reading your post I popped my seeds in the fridge and took them out this morning. Are they on a damp paper towel/baggiie in the draw?? What else have you soil blocked. I love soil blocking.Of all of the flowers that I have tried to grow from seed, annual phlox has been the trickiest. They are kind of my nemesis. Phlox has been hard to germinate, and not very easy to grow-on either. Last summer there were only a handful of plants that made it to bloom--but in the end they were gorgeous. I saved about a tablespoon of seed, and I am stunned to report that those seeds sprouted nicely for me after just a few days. I had them under a little piece of damp paper towel in a cup in the fridge for about 24 hours, and then in a dark kitchen drawer for about 5 days (since phlox seeds really need complete darkness to germinate). Today I poked the seeds in to 3/4" soil blocks, and I am cautiously optimistic that they will grow.
I have yet to use my heat mat this year, relying instead on warm room temperature to germinate the seeds. Some folks believe that phlox may even benefit from alternating day/night temperatures, so it may be better to have the house cooler overnight.Just wanted a follow up on the phlox. Did you put the blocks on heat mat, covered or uncovered? Do you see anything happening yet. After reading your post I popped my seeds in the fridge and took them out this morning. Are they on a damp paper towel/baggiie in the draw?? What else have you soil blocked. I love soil blocking.
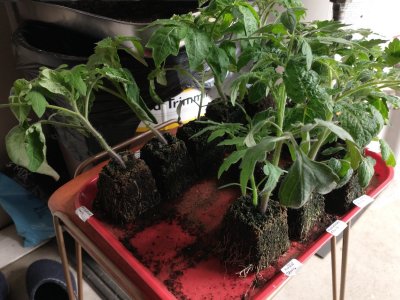
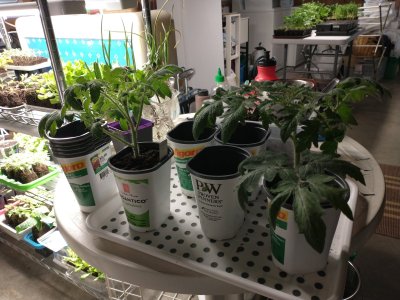
... or else I will be completely over run with large seedlings.