- Thread starter
- #61
Branching Out
Garden Addicted
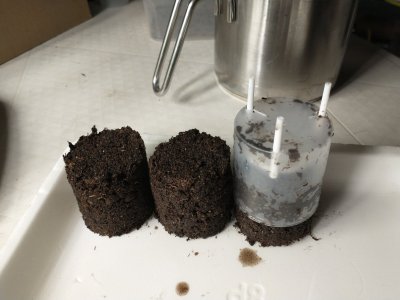
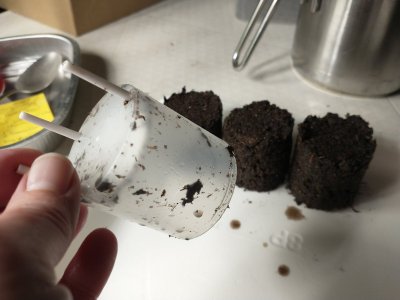
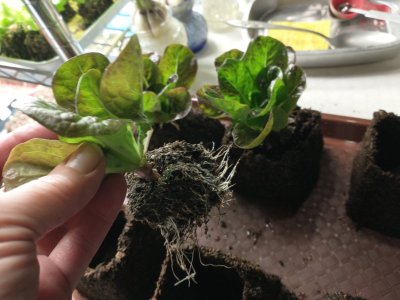
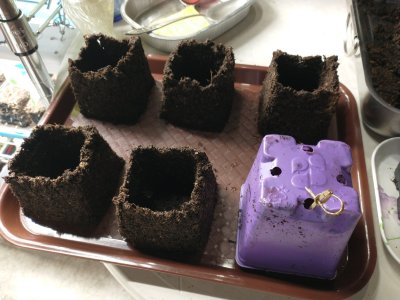
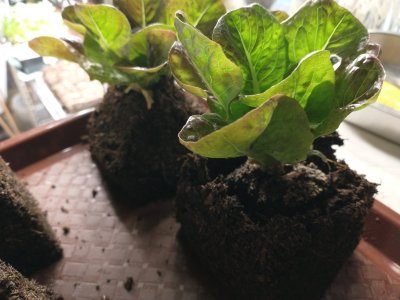
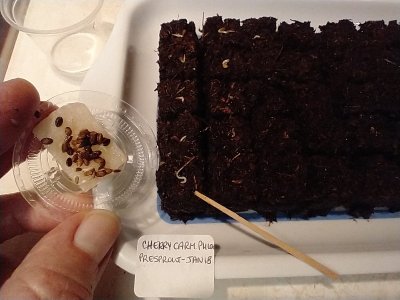
Of all of the flowers that I have tried to grow from seed, annual phlox has been the trickiest. They are kind of my nemesis. Phlox has been hard to germinate, and not very easy to grow-on either. Last summer there were only a handful of plants that made it to bloom--but in the end they were gorgeous. I saved about a tablespoon of seed, and I am stunned to report that those seeds sprouted nicely for me after just a few days. I had them under a little piece of damp paper towel in a cup in the fridge for about 24 hours, and then in a dark kitchen drawer for about 5 days (since phlox seeds really need complete darkness to germinate). Today I poked the seeds in to 3/4" soil blocks, and I am cautiously optimistic that they will grow.
Attachments
Last edited:
")
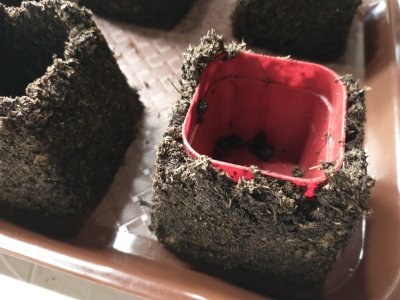
") we only have really thin singly ply TP so turning it upside down and then watering it will probably work well for keeping seeds lightly covered but also spaced how you'd like.
we only have really thin singly ply TP so turning it upside down and then watering it will probably work well for keeping seeds lightly covered but also spaced how you'd like.