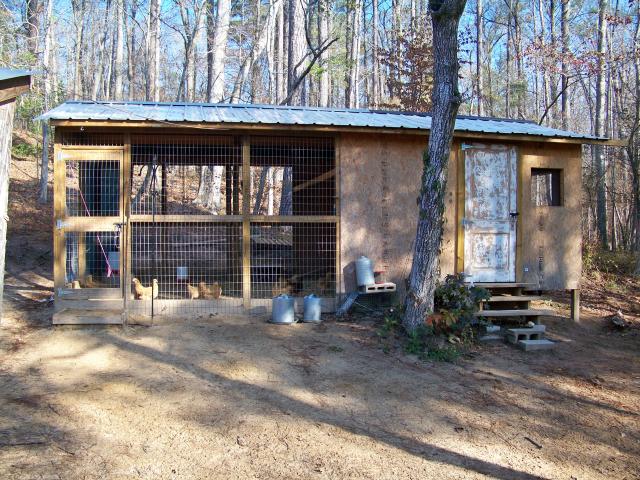
Here is my set-up. I started with just the covered run which is 12x16. The chickens and guineas did fine with only the end covered for a year. I put up tarps in the winter to keep it dryer (protected from blowing rain) but that's all. I then added the closed-in part on the east end. I call it the coop and the original part is the run. I had someone build the covered run for me and it is well built. It has 4x4's set in concrete, 2x4 welded wire all the way around, metal roof, and an 18" skirt buried about 6" underground all the way around. I built the coop addition myself and although I can't say it is as well built, I think I did pretty well for a forty-something woman with no construction experience!
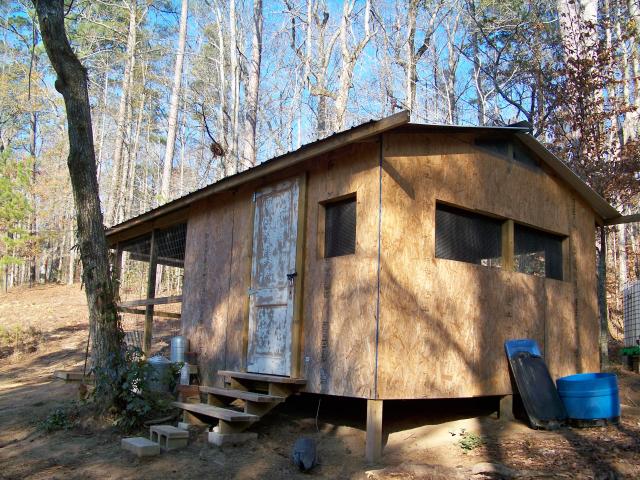
This is the whole structure which is 12x24. It sits on a hill with a southern exposure. There is some shade but not as much as appears in this pic, it was taken early this morning. I plan to eventually cover the OSB with siding.
This shot shows that the enclosed coop part is built up off the ground and has lots of windows. They are just framed openings with hardware cloth covering them. I stapled plastic over all of them last winter but may not this year. The door is recycled and was painted. I sanded most of the paint off and sealed it with clear polyurethane. The window by the door is 2x2 and lets me see what is going on inside before I open the door. All I have to do is stand on the top stair and peek in.
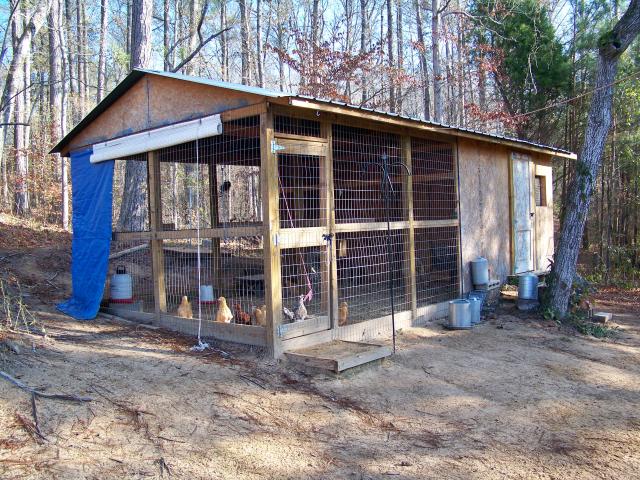
This is the SW corner. The white thing below the gable is a roll up blind (also recycled.) I let it down in the summer to provide shade from the afternoon sun and roll it up when they need that warmth. The tarp was an attempt to keep the water in the corner from getting too hot. It will come down soon.
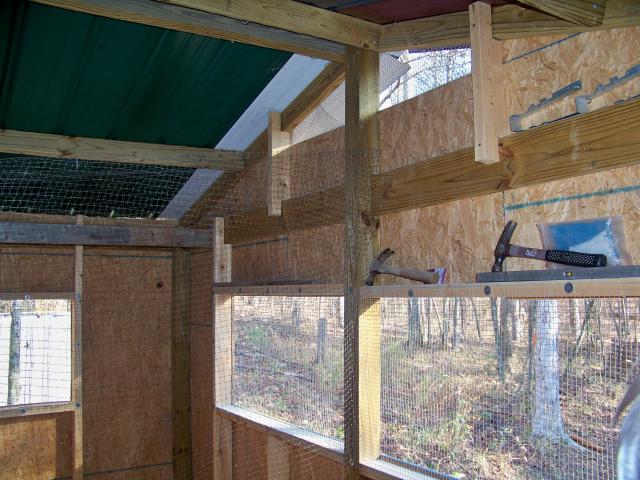
These pics were taken from the doorway and are of the inside of the coop area. I have a partition to separate the coop from the storage areas. It consists of a couple of 2x8's mounted on the floor and bird netting above. I hope to replace it with a framed wall and chicken wire, at some point. The above pics show the right side and with the two east facing windows that are 2x4 each and the vent area in the gable end. Next to the door is a 2x2 window (that you can't see in the pic) and on the back wall is a 2x4 window. I may cover the back and side windows with plastic and leave the smallest one and the gable vent open. I really haven't decided yet.
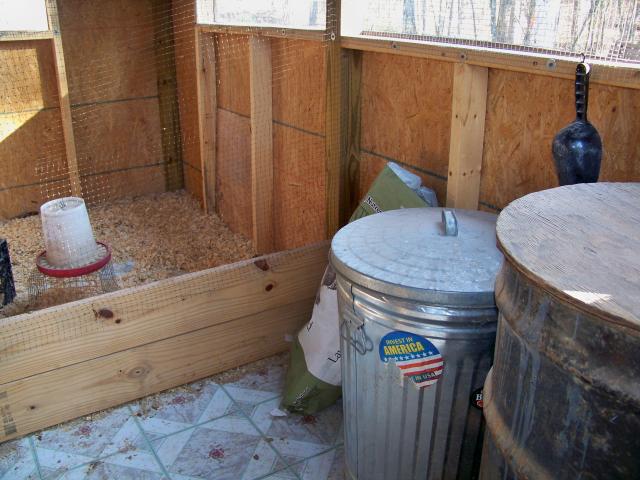
This shows the opposite wall that backs up to the run. The box on the floor is where the nestboxes are. They enter from the run and I can access them from this side. I have not made doors for it yet so I have some scrap OSB there to keep the hens from getting into the storage area through the nests.
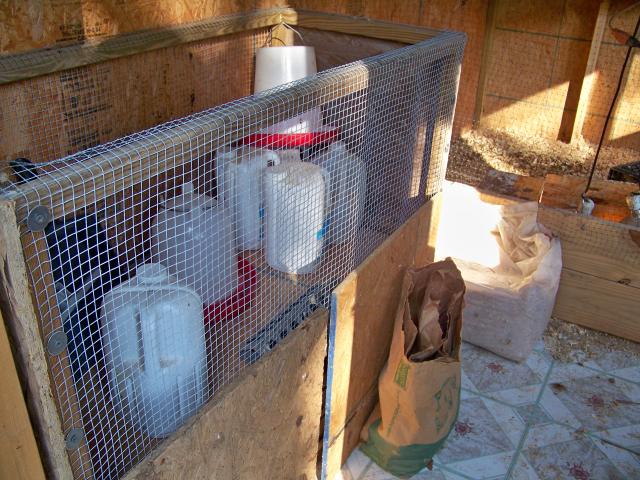
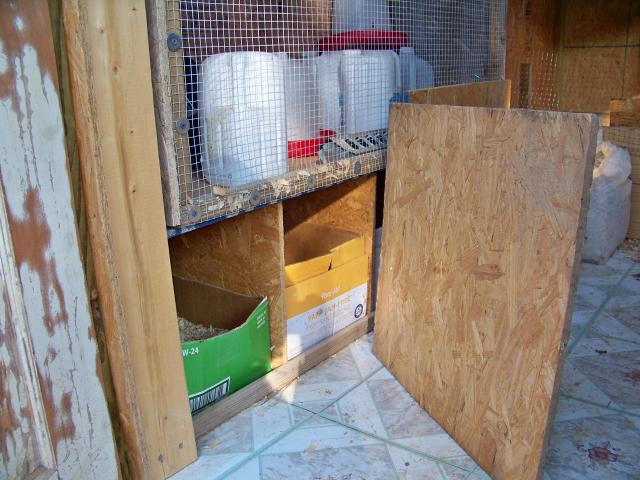
Here is the inside, I have cardboard boxes (the kind copy paper comes in) filled with pine shavings for the boxes themselves. They slide out to inspect and clean, and when one gets yucky, I just throw it on the burn pile because I have a steady supply from work! On top of the nest boxes is a brooder cage. The top is off of it and I am storing some feeders and spare water there right now. The cage is about 2x4 and has a removeable top and bottom. I can use it on the floor of the coop for an introduction aid, in the truck to transport birds, here as a brooder or for a sick bird. It has been one of my favorite and most useful additions.
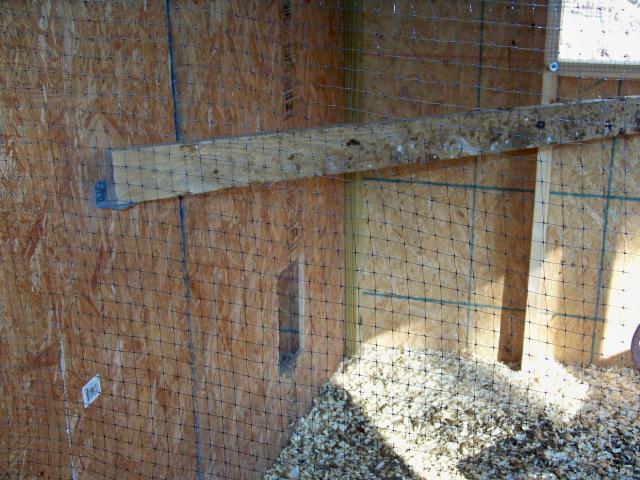
Here is the coop area behind the brooder and it shows the partition and the pop door that opens to the run.
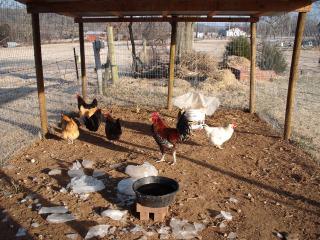
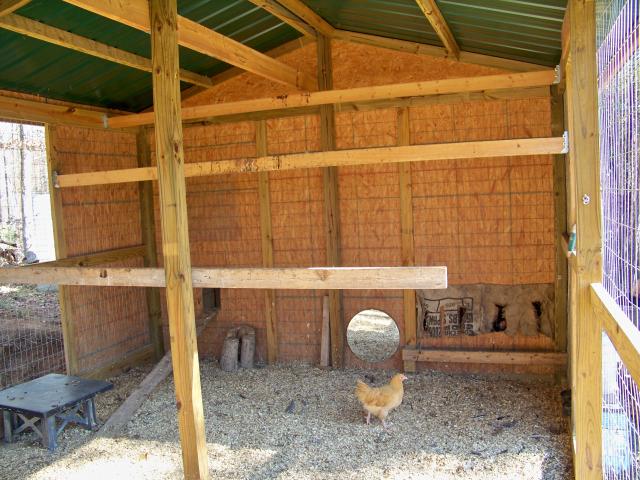
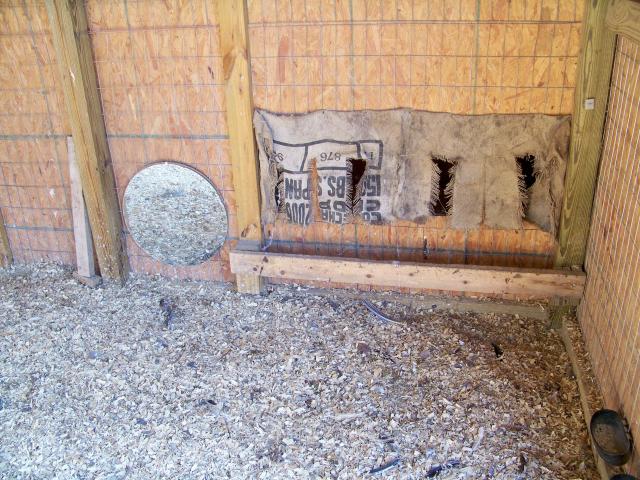
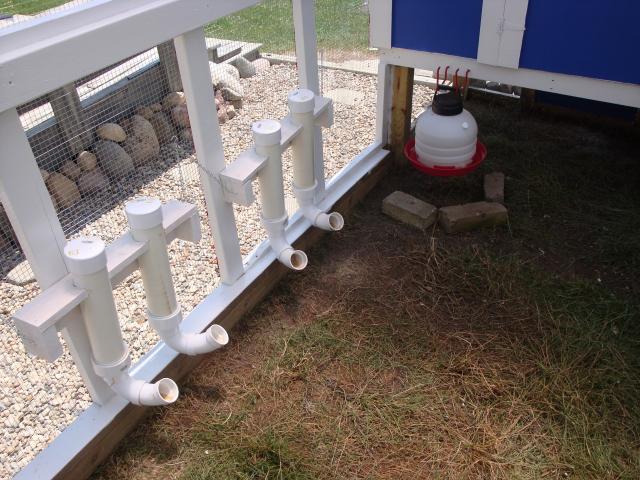
This is the inside of the run. The entrances to the nest boxes are on the right. I hung burlap over them so that the hens feel hidden (although if you look closely, you can see one of my SLW hens in second one from the right.) I cut slits in it and frayed the cuts to make a space for their heads to poke in. That is a round mirror that the guineas use to remind themselves what beautiful birds they are. and the pop door is on the left. Here are some closer shots.
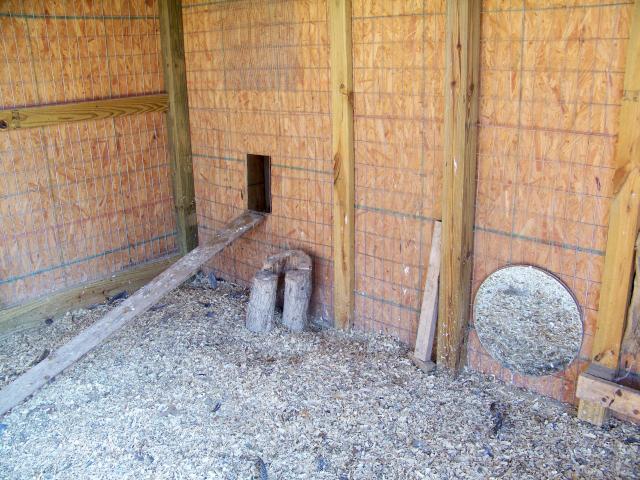
The little black cup in the lower right corner of the pic holds crushed oyster shell.
The object leaning against the wall is "The Chicken Gitter" (and it says so on the side!) I use it to reach the girls at night when I need to lift one down from a roost that is over my head. It is just a scrap of 2x2 nailed to the end of a two foot long 2x4. I use that thing all the time!
...and this is my brocolli.