Marie, here is my Basic bread recipe. My MIL used this, and I inherited her cookbook. She had This recipe hand written in it. I have made it successfully for YEARS.
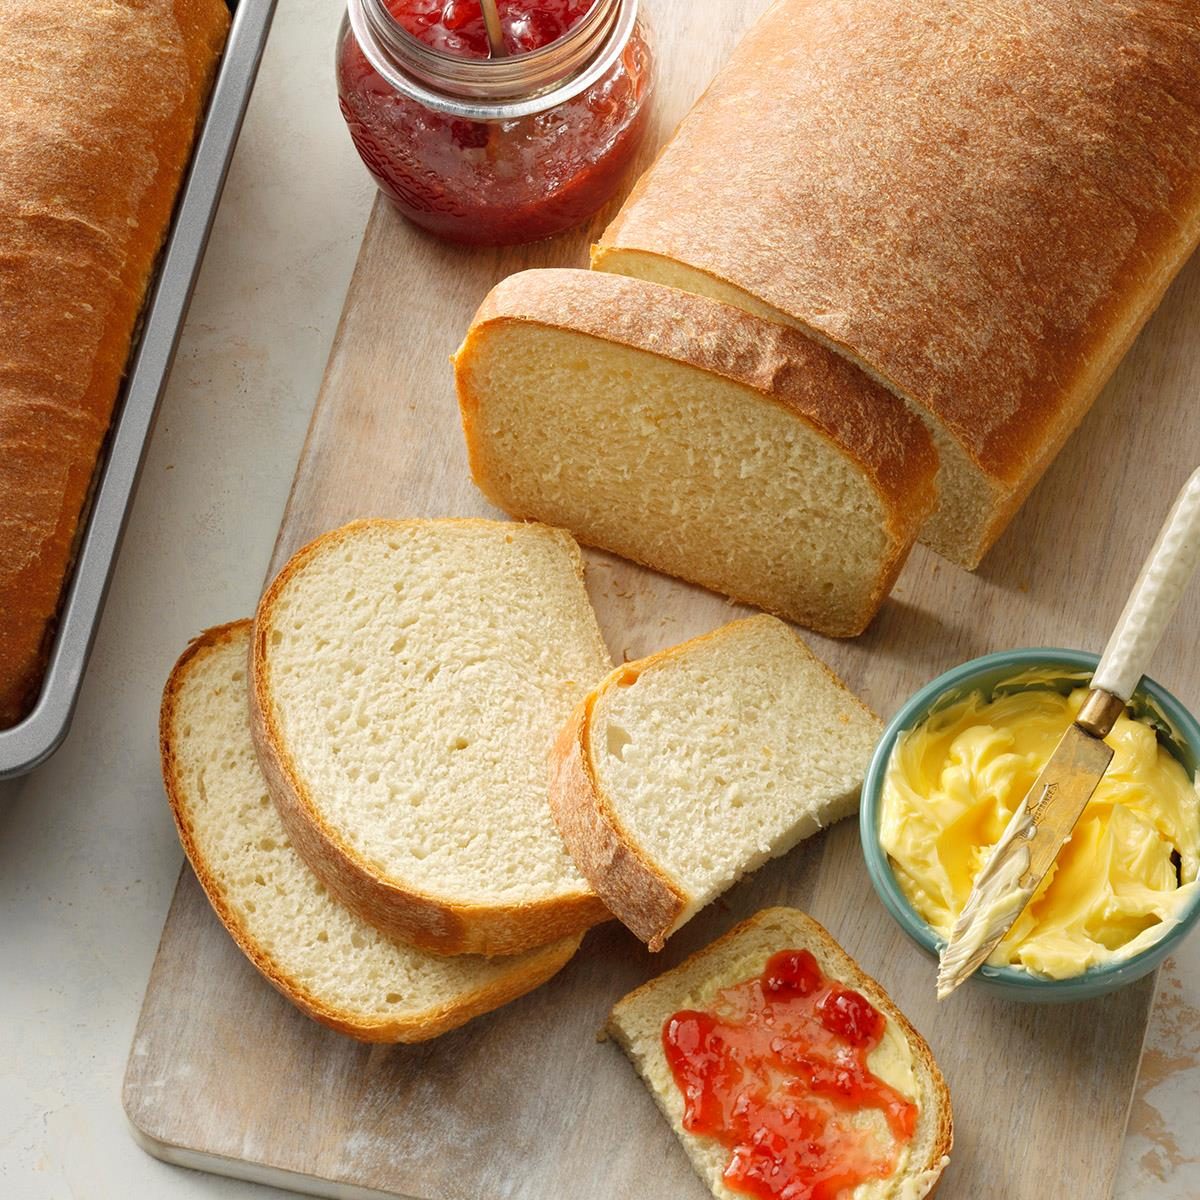
Basic White Bread
2 packages (1/2 ounce) or equivalent active dry yeast (use more than you think you need)
2-1/4 cups warm water (110° to 115°), or milk
3 tablespoons sugar plus 1/2 teaspoon sugar OR honey
1 tablespoon salt
2 tablespoons shortening OR butter
5 1/2-6 cups flour
DIrections:
1) Soften butter (if you use that), add the sugar. You can microwave it for about 30 seconds, or let it soften for an hour
I like using the microwave to heat up the water/milk, test it, so it isn't too hot, then add the yeast.
2) add flour, 1 cup at a time
If it is humid you will need 5 cups. If it is drier you will need 6 cups
3) Hand mix and kneed your bread. You can flour a board, or your kitchen counter and take out all of your aggression on the bread! The more you kneed it, the denser the bread will become.
4) butter a bowl, and let rise in a warm place until it is doubled. You will just have to watch it bc the yeast needs warmth to grow. Again, I like to put mine in my microwave, but I have cats, so this way they stay out of it.
Coat the bread in the butter before letting it rise to doubled
5) Take your risen bread and kneed it some more, then cut pieces with a knife. Work the dough to approximately fit the bread pan.
I have a rectangular glass bread pan, and 3 smaller loaf ceramic bread pans (that are Christmas-y and I bought them on clearance one January)
Butter OR spray with cooking spray to keep the bread from sticking.
6) Kneed to fit. They should fill 1/2 of each bread pan.
If you wish, paint on egg whites before the bread rises the 2nd time
7) Let rise in a COLD oven.
8) When doubled, turn on the oven WITH THE RISEN BREAD DOUGH to 350 degrees F (or equivalent)
9) The smaller bread pans takes about 25 minutes to bake, but check it bc it may take a little bit longer in YOUR oven.
10) When you remove the smaller pans (if you do it this way), turn OFF the oven and let the larger pan rise 10 more minutes
If you use only a large bread pan it takes about 35 minutes to bake.
REMOVE THE BREAD IMMEDIATELY! Put the loaf(ves) upside down or sideways on a cookie sheet to allow for the bottoms to dry out. Otherwise your bread will have soggy bottoms.
This video should help you.
Here's a step-by-step guide to kneading, shaping and baking yeast bread for the freshest, fluffiest homemade loaves.

www.tasteofhome.com

")
")
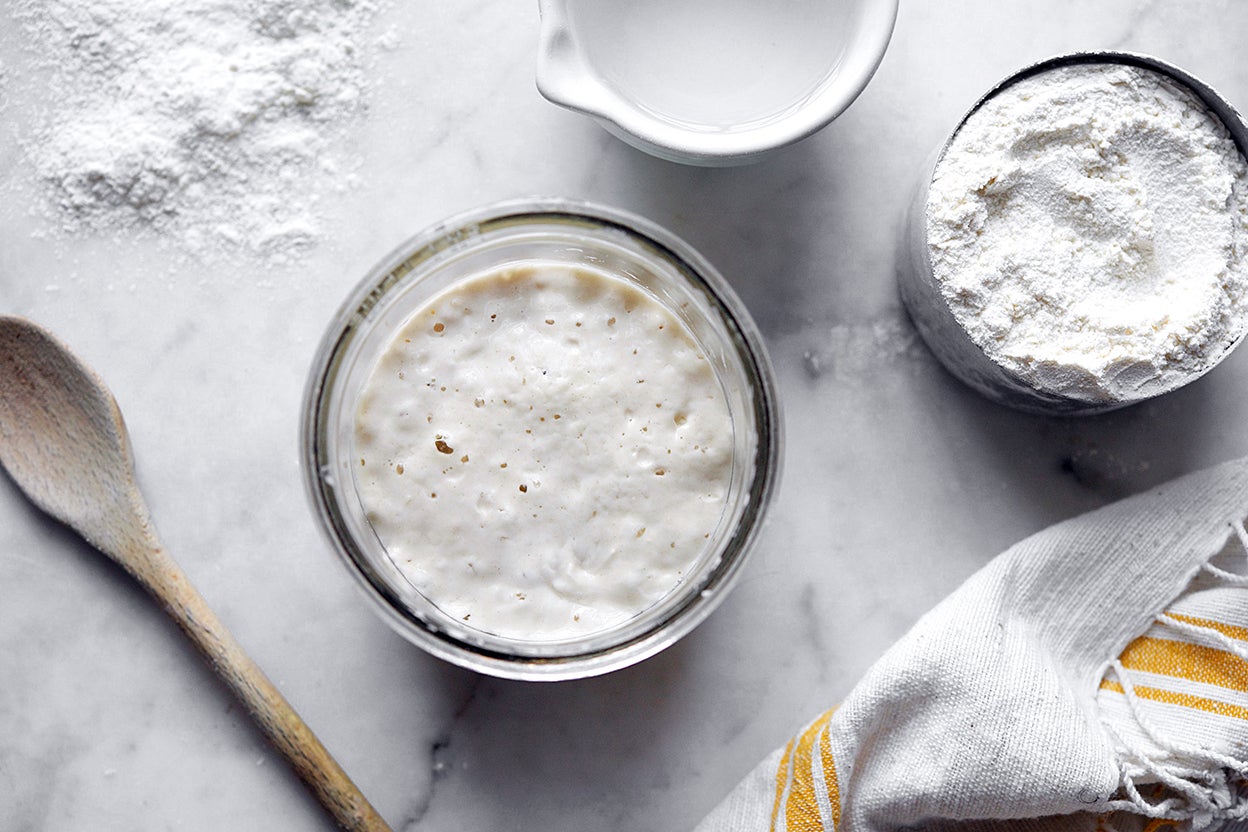
 I'm praying it stays alive because I've murdered two sourdough's before, this is my third.